NAT Instances: Bridging the Gap for Private Instances and the Internet

  For the creation of NAT Instance, we are going to follow the below steps 1. Creating the VPC. 2. Creating the Subnet(public and private). ...


For the creation of NAT Instance, we are going to follow the below steps

1. Creating the VPC.

2. Creating the Subnet(public and private).

3. Creating the IGW(internet gateway).

4. Creating the route table for public and private subnets.

5. Adding the IGW and associating the public subnet in the public route table.

6. Creating the NAT instance using VPC and public subnet.

7. Creating the private instance using VPC and private subnet.

8. Adding the NAT instance Id and associating the private subnet in the private route table.

9. Enabling the Natting in the NAT instance.

10. Check the private instance connection from a public instance.

To create the NAT instance and Public instance you need a VPC, Subnet, and Route table 

If you are not already created VPC, Check out our blogs
What is VPC and how to create VPC?
How to create the Subnet, Route tables, and IGW in AWS.

Once all the required components are created, let’s create the NAT instance and Private instance.
To create the NAT instance go to ec2 console click instance and click launch instance. It goes to the next page, where you need to click the community AMI and type NAT in the search bar, it will give you the available NAT instance, you can choose any NAT instance.


Next step Choose an Instance Type, as per your requirement you need to choose the instance type for the free tier and need to choose t2.micro. After choosing the instance type click to configure instance details.
Next, we need to choose the VPC and subnet for the instance.
In my case, I have already created the VPC and subnet, so I choose the already created VPC and public subnet.
Next Assign the public IP Address, in this part if you need static IP you don't want to enable it because you can create the elastic IP and attach it to the instance, if you do not need a static IP, you must need to enable the public IP, (i.e.) without public IP you cannot able to connect the instance using the internet. In my case, I have enabled it.
The next step is the storage option. Here we need to choose the volume size, and type, if you want two volumes you can add them by using the option Add New Volume. 
If you do not know about the volume type checkout the blog What is EBS volume and types of volumes.
   
 
If you want to add Tag for instance you can add the tag by clicking the add tags option.
Next step you need to choose the security group. If you do not know about security groups please check our blog: What is the security group in AWS and How to use the security group.
If you want to go to the previous steps you can go by clicking previous or else click Review and Launch instance

In the next step, you can verify and review all the above-configured steps
Click launch to choose the private key, which is the pem file
Once the instance is created, you can name a NAT instance.
Now we need to create the private instance here same above steps we need to follow only two changes
1. You need to choose the Normal community AMI instance instead of NAT.
2. Choose the private subnet in the network part. 


Once a private instance is created you can name it as private.
Now, All set, need to route the traffic to the private instance from the NAT, so go to the private instance route table and add the NAT instance id in the routes.
Click the edit routes option to edit the routing table. inside the Route table, you need to add the NAT instance id, click Add Routes option to add new routes choose 0.0.0.0/0 means allows all the ipv4 connections then choose the instance option.

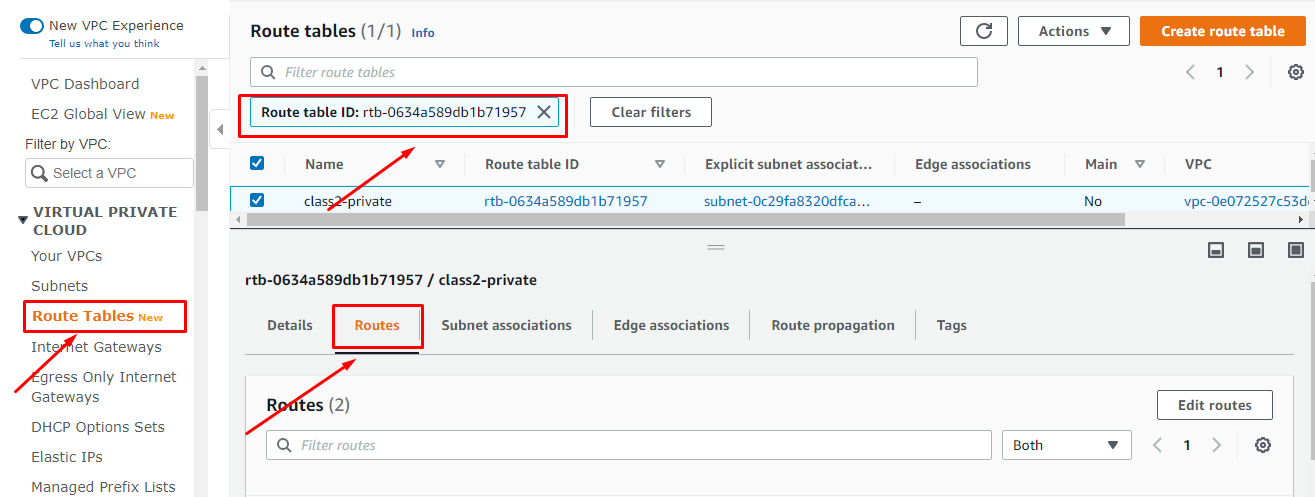
In the Instance option, we can see many instances, we need to choose the correct NAT instance. Save the changes

Now ready to check, before that, we need to do one more step, NAT instance needs to NAT the connection to the private, so choose the NAT instance from the ec2 console, right-click or click Actions you will see the networking click that will see change source/destination check. 

Click S/D check it will prompt another window, Need to give the source and destination check as stop and save the changes. then only the instance acts as a NAT instance

Now, all set finally we need to check the connectivity by login the private instance from the public instance.

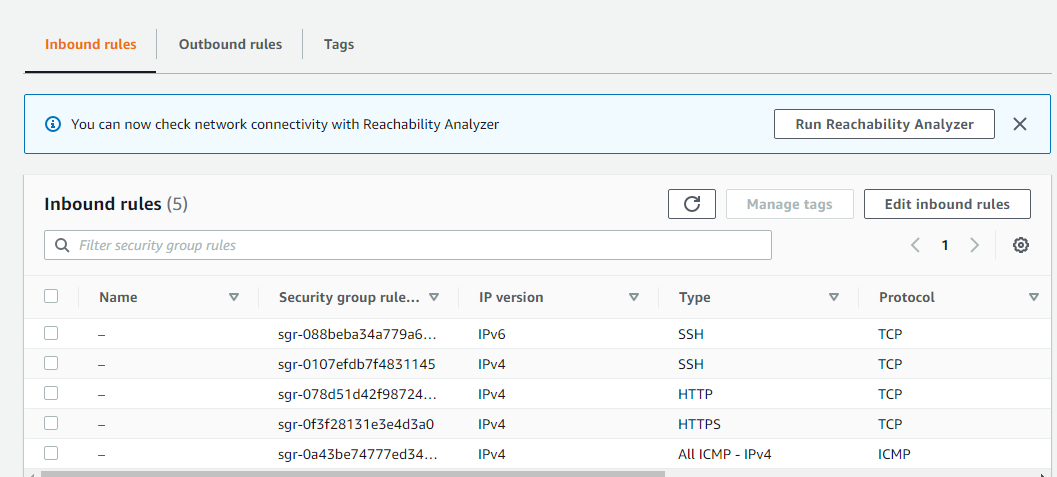
You must need to enable protocols in the NAT instance’s Security Group.
You need to access all protocols from the private instance needed to enable all traffic in the NAT instance’s security group.
If you want to ping google and DNS from the private instance you must need to enable the ICMP protocol in the NAT instance’s security group same for Http, Https other protocols.

Now you can see the private instance it must connect to the internet.
Log in to the public instance using putty if you using Linux, Mac directly connect using ssh
Once the public instance was logged in, you must add the private instance’s pem file.
After adding the instance need to give the permission as chmod 400 testing.pem

Now we can able to connect by using the ssh command: ssh -i "testing.pem" ec2-user@172.16.128.168 

Now we are able to connect to the internet. So the Natting works well.


----------------------------------------!!!! Happy Learning with Techiev !!!!!!!!---------------------------------

-------------------------Subscribe our Youtube Channel by clicking the below link---------------------- ----------------------------!!https://www.youtube.com/@techieview729!!---------------------


Name

AWS,14,Devops,23,linux,9,
ltr
item
Techie View: NAT Instances: Bridging the Gap for Private Instances and the Internet
NAT Instances: Bridging the Gap for Private Instances and the Internet
https://blogger.googleusercontent.com/img/a/AVvXsEjiaZELhMAsMCuGXEv6FR0xEiJSkyAg4OcTkqF-KJQj7rOuMzduJD8wD6l8WB-eHLcz44xFh-jB3bNQx9l_eltf7J3QSIoKsEgKDgm7JypaZobiRhnR_R6X4nrtk55ZjwMQRct6HuoudQHnag0wcMBXQmewS1ZGzxjyyvpKYYkLF3CMwVlnfCH8jnvdRw=w400-h156
https://blogger.googleusercontent.com/img/a/AVvXsEjiaZELhMAsMCuGXEv6FR0xEiJSkyAg4OcTkqF-KJQj7rOuMzduJD8wD6l8WB-eHLcz44xFh-jB3bNQx9l_eltf7J3QSIoKsEgKDgm7JypaZobiRhnR_R6X4nrtk55ZjwMQRct6HuoudQHnag0wcMBXQmewS1ZGzxjyyvpKYYkLF3CMwVlnfCH8jnvdRw=s72-w400-c-h156
Techie View
https://www.techiev.com/2022/01/the-creation-of-nat-instance-we-are.html
https://www.techiev.com/
https://www.techiev.com/2022/01/the-creation-of-nat-instance-we-are.html
true
7013663511659419322
UTF-8
Loaded All Posts Not found any posts VIEW ALL View Full Article Reply Cancel reply Delete By Home PAGES POSTS View All RECOMMENDED FOR YOU LABEL ARCHIVE SEARCH ALL POSTS Not found any post match with your request Back Home Sunday Monday Tuesday Wednesday Thursday Friday Saturday Sun Mon Tue Wed Thu Fri Sat January February March April May June July August September October November December Jan Feb Mar Apr May Jun Jul Aug Sep Oct Nov Dec just now 1 minute ago $$1$$ minutes ago 1 hour ago $$1$$ hours ago Yesterday $$1$$ days ago $$1$$ weeks ago more than 5 weeks ago Followers Follow THIS PREMIUM CONTENT IS LOCKED STEP 1: Share to a social network STEP 2: Click the link on your social network Copy All Code Select All Code All codes were copied to your clipboard Can not copy the codes / texts, please press [CTRL]+[C] (or CMD+C with Mac) to copy